How to Catch As-Built Deviations Before They Become Rework
A missing sleeve, a beam a few centimetres off, a duct fouling a joist. Caught while the work is open, each is a quick fix. Found after the slab goes down, each is rework. As-built verification is how you stay on the cheap side of that line.
Published
08 SEP 2026
Reading Time
7 min read
Author
Aman Solanki
Category
Tech Engineering
Aman Solanki leads Business and Client Relations at Shivlam, a spatial computing and product studio in Ahmedabad, India.
A missing sleeve, a beam a few centimetres off, a duct fouling a joist. Caught while the work is open, each is a quick fix. Found after the slab goes down, each is rework. As-built verification is how you stay on the cheap side of that line.
THE COST CURVE · AT A GLANCE
The same deviation costs more the later you find it. Verification moves the moment of discovery to the left.
| In the design model | Cheapest |
| On site, work still open | Hundreds |
| After the next trade builds on it | Thousands |
| After handover | Rework, delay, disputes |
The moment a small deviation turns expensive
While the work is open and visible, moving a duct or correcting a set-out line is cheap. Once the ceiling closes, the screed goes down, or the wall is skimmed, the same fix means opening finished work, coordinating trades again, and explaining the delay.
The reason so many are found late is the process itself. Formal inspections often happen near closeout. Field changes get made to keep the day moving and never make it back to the model. By handover the drawings say one thing and the building says another, and the facilities team inherits the gap.
A deviation caught in the model costs hundreds. The same one found after handover has cost projects millions.
What as-built verification actually means
As-built verification compares what was actually built (the as-built) against what was designed (the as-designed model), and flags where they do not match. The point is to check as the work goes up, while the build is still in your hands. Kept up to date, it is part of managing project information under standards like ISO 19650.
It is easy to confuse with two neighbours. Clash detection finds conflicts between trades in the model before anyone builds. A final as-built survey records what got built after the fact. As-built verification sits in the middle, on site, during construction, closing the loop between the model and the concrete.
Where deviations really come from
After enough site walks, the same handful of causes show up again and again. None of them are exotic. They are the ordinary friction of building.
An HVAC run or duct that fouls a beam because two trades coordinated on paper, not in place.
A wall or an opening that moved during construction and never got reflected back in the model.
Conduit or pipework routed off its planned path to dodge something on the day.
Formwork set slightly off the layout, so the pour locks in the error.
What these share is that they are cheap to see and cheap to fix at the moment they happen, and expensive once the next layer goes on top. The whole point of verification is to look at the right moment.
How to catch them early: a three step loop
01 · CAPTURE
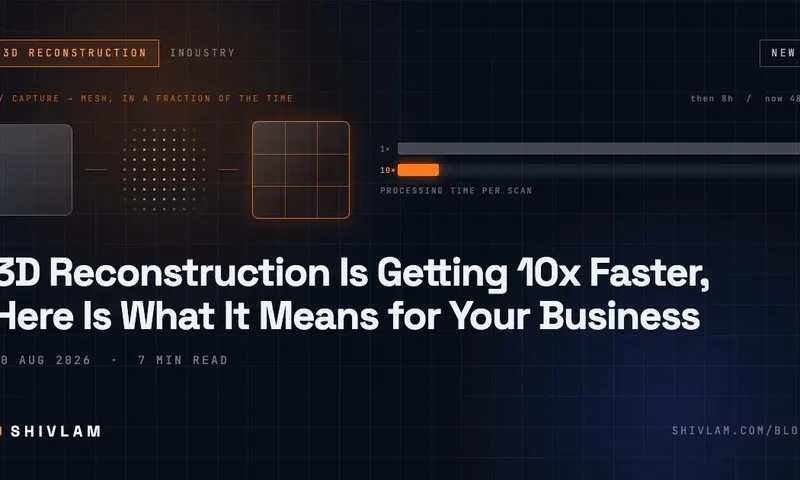
Record what is actually there, by LiDAR scan, photogrammetry, or a live overlay on site. Accuracy matters, because a loose capture hides the small deviations that grow. This is where good 3D reconstruction earns its place.
02 · COMPARE
Line the capture up with the live IFC or Revit model and look for where they diverge, using the model the team is actually building to, not last month's version.
03 · FLAG ON SITE
Log the deviation where you are standing, tag it to its exact place in the model, and pass it to the office before you leave the floor.
Tape and drawings vs the model on the wall
Most teams verify with a tape measure, a set of drawings, and spot checks. It works, up to a point. The gap is that you are comparing a flat drawing to a three dimensional space in your head, one measurement at a time.
| Drawing read against the space by eye | → | Model overlaid on the real build at 1:1 |
| Spot measurements, sampled | → | Whole area seen against the model at once |
| Deviations described in words later | → | Deviations seen, located, logged on the spot |
Overlaying the model in AR does not replace judgement. It puts the design and the reality in the same view, so a clash stops being an argument and becomes something everyone is looking at.
What it looks like on a live site
This is not theory for us. Shivlam built DeltaARBIM, our own AR BIM verification platform, and it runs on real projects, including a live hospital build. The app overlays the IFC model onto the structure through the device camera, holds alignment to within two centimetres, and lets the team toggle trades so structure, walls, and MEP can each be checked on their own.
On the hospital site that meant catching a services clash in an operating theatre wing before it was closed up, and confirming that rated walls and medical gas runs matched the model while the fix was still simple. What mattered was seeing the deviation at the moment it was cheap to correct, before it was closed up.
A verification routine your team will actually keep
Tools help, but the habit is what saves the rework. A routine that sticks tends to share a few traits.
Give it an owner, so the check does not fall between roles.
Log every deviation with its location and a photo, not just a note, so the office knows which wall you meant.
Close the loop back to the model, so the next check runs against something true.
Keep the record, so handover is a confirmation rather than a surprise.
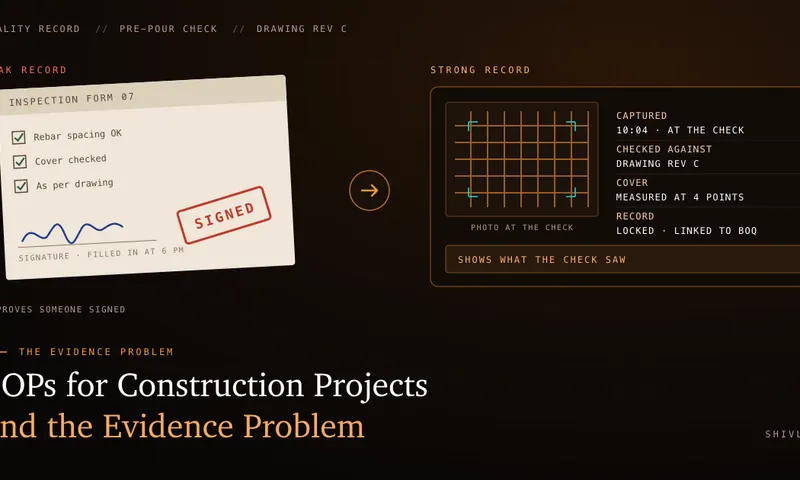
Keeping the record is the step most quality procedures get wrong. We cover why in SOPs for construction projects and the evidence problem.
See it on your own project
Shivlam builds custom AR BIM verification tools around your workflow, and you own what we build.
Book a demoFAQ
Questions readers ask about this topic.
What is the difference between as-built and as-designed?
As-designed is the approved model, what the building is meant to be. As-built is the real structure, what actually got built. As-built verification compares the two while there is still time to act, not after handover.
How accurate does as-built verification need to be?
Accurate enough to trust the small deviations, since those are the ones that grow. On the platform Shivlam built for DeltaARBIM, the overlay holds to within two centimetres, enough to catch a set-out drift or a services clash on site.
How does as-built verification reduce rework?
It moves the moment of discovery earlier. A deviation found while the work is open is a quick correction. The same one found after it is covered means opening finished work, which is where rework cost and delay come from.